
LightningSource printing can be used for print-on-demand (POD) books, or for small print runs. Their book setup requires the cover and the interior to be loaded separately. The cover has to be built to a specific size and their website has a template generator (https://myaccount.lightningsource.com/Portal/Tools/CoverTemplateGenerator) to produce the right size of cover for the type of book, the number of pages, paper type and book finish. The book interior is however down to you, but must comply with LightningSource’s requirements for a PDF. We’ve uploaded a few interior files now, they have all been accepted on the first upload, and here we share the settings we’ve used.
First thing to note is that we use Adobe Acrobat XI Pro to generate the PDF. There are later versions of Adobe Acrobat available, or it can be run from Adobe’s cloud Software as a Service (SaaS) options, or have a look through eBay for a copy of a suitable version (with a licence key).
Once you have Adobe Acrobat the following may help as this is how we generate our PDFs. This assumes that you have already formatted the document into a mirrored page layout in MS Word with appropriate margins for a book being printed by LightningSource, and that the book is formated into pages, proofread and ready to go.
- In MS Word, select Print and then select ‘Adobe PDF’ as the printer.
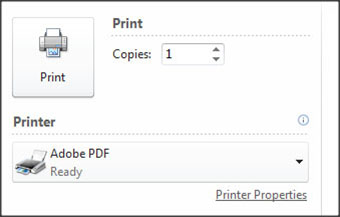
2. Select the button under ‘Adobe PDF’ for ‘Printer Properties’.
3. Select ‘Adobe PDF Page Size’ and either pick the size you want or select ‘Add’ and create a customized size. We created a customized size. The size for our books is 5.25in x 8 in or 133.35mm x 203.2mm.
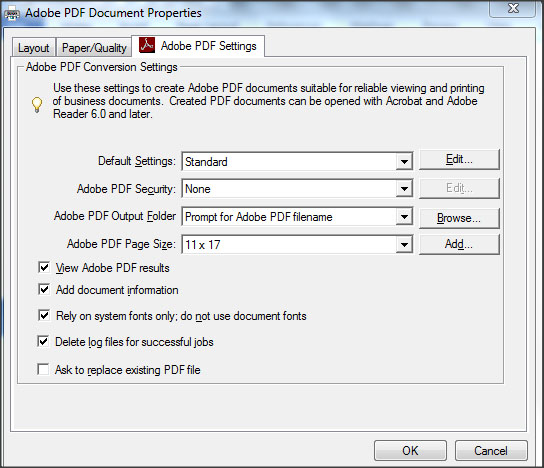
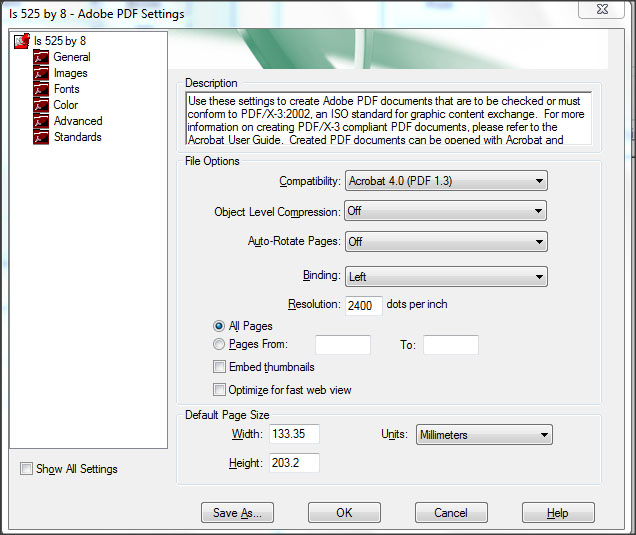
4. Select ‘Default Settings’ and ‘Edit’ to choose the settings to configure the PDF file. These are the settings we use, first for ‘General’. Here select the ‘Compatibility’ mode and set the default page size.
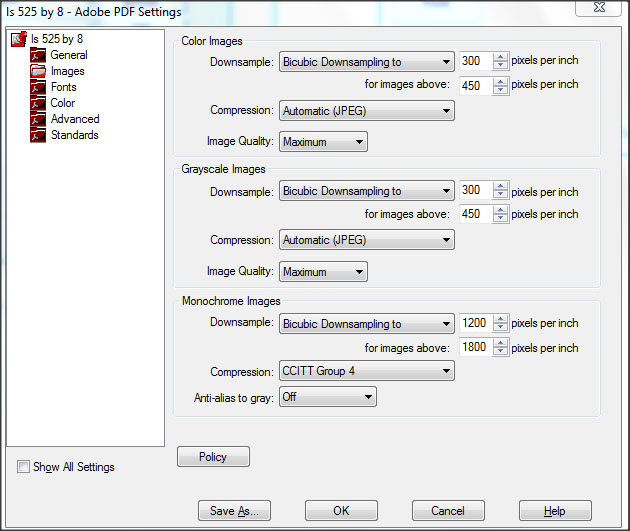
5. then for Images
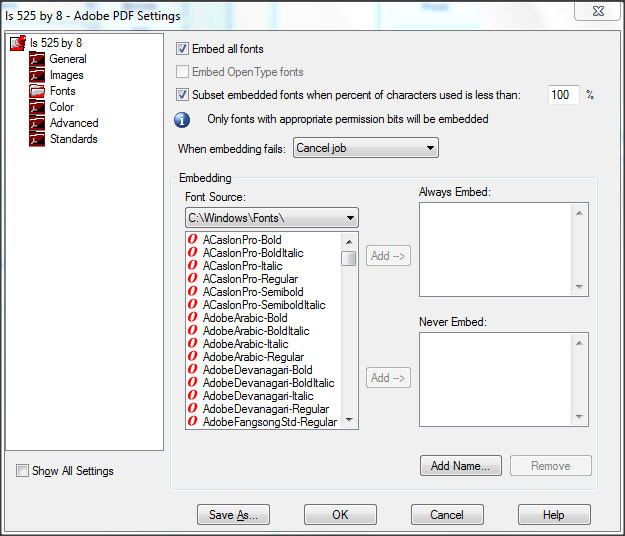
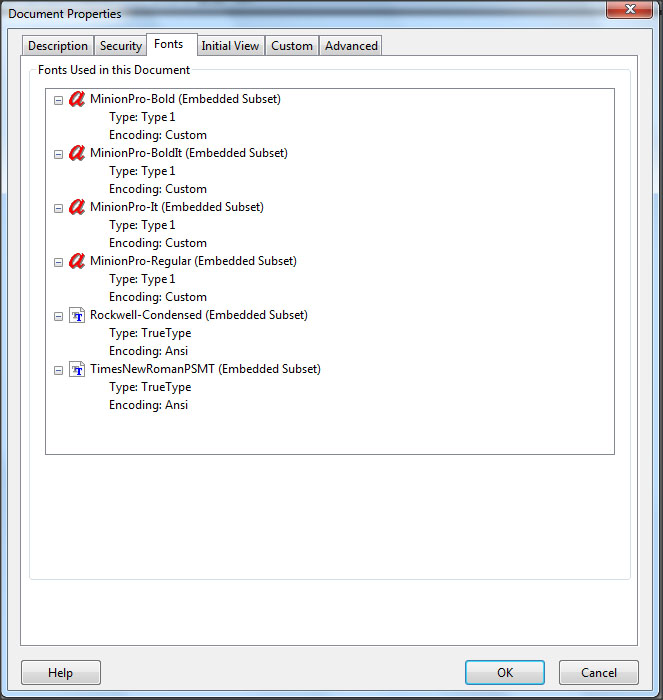
6. for Fonts. Select to embed all fonts.
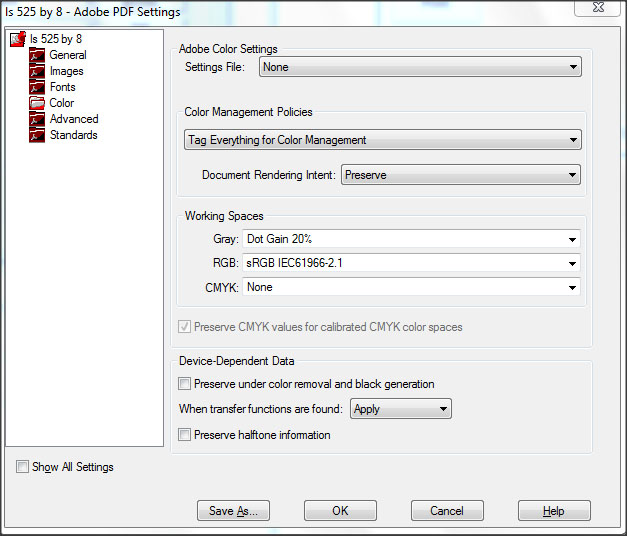
7. for Color
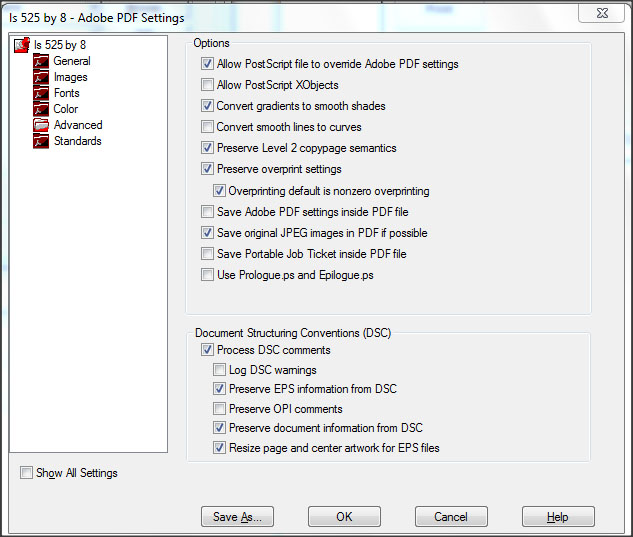
8. for Advanced
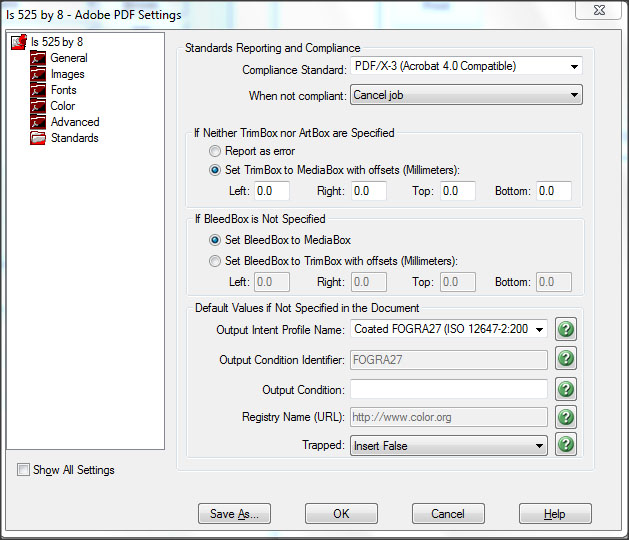
9. for Standards. We chose ‘PDF/X-3 (Acrobat 4.0 Compatable)’, although more compatibility options are supported by LightningSource so choose one available at LightningSource.
10. Once you have all the settings you want select ‘Save As’ and give the format a name you can find again later.
11. With the ‘Adobe Properties’ selected, choose ‘Print’ to create the PDF file.
12. Once the PDF is created, Adobe Acrobat will open automatically, if not, open the document with Acrobat, and then check that all the fonts being used in the document are the ones you want and that no others have snuck in. Select File->Properties->Fonts. If any are wrong or not embedded, then go back to the MS Word document and remove or correct them before recreating the PDF again as above.
The PDF file created can also be used at other printers provided they don’t have different print sizes, different margins, or different PDF standards, so, for instance, the file output from these instructions can alternatively be loaded at Amazon’s CreateSpace although the MS Word file margins for CreateSpace can be different.
Originally posted on wordpress.com in 20 October 2014.